
In today’s fast-paced digital world, the ability to quickly scan documents using just your iPhone is a game-changer. Gone are the days of bulky scanners and tedious paperwork your iPhone’s high-quality camera and built-in tools make digitizing documents effortless.
Apple has integrated powerful scanning features directly into the Notes and Files apps, eliminating the need for third-party software in most cases. However, if you require advanced capabilities like text recognition (OCR) or seamless cloud integration, several excellent third-party apps are available.
This comprehensive guide will walk you through every step of scanning documents with your iPhone, from using native apps to troubleshooting common issues. By the end, you’ll be able to scan, save, and share documents like a pro.
Why Scan Documents with Your iPhone?
Before diving into the how-to, let’s explore why iPhone document scanning is so beneficial:
Paperless Convenience
Digitizing documents reduces clutter and helps you maintain an organized, eco-friendly workspace. No more lost receipts or misplaced contracts—everything is stored securely on your device or in the cloud.
Quick Sharing & Saving
Need to send a signed document immediately? With your iPhone, you can scan, save, and share files in seconds via email, messaging apps, or cloud storage.
Easy Digital Organization
Digital scans can be sorted into folders, tagged for quick access, and even searched using keywords (if using OCR). This makes retrieving important files faster than flipping through a filing cabinet.
High-Quality Results
Modern iPhones boast advanced cameras that capture sharp, clear scans—often rivaling traditional flatbed scanners in quality.
Method 1: Using the Notes App (Built-in Option)
The Notes app is one of the simplest ways to scan documents on an iPhone. Here’s a step-by-step breakdown:
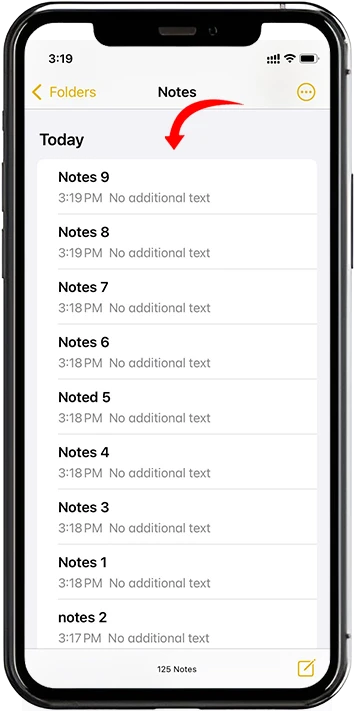
1 Open the Notes App
Launch the Notesapp (pre-installed on all iPhones).
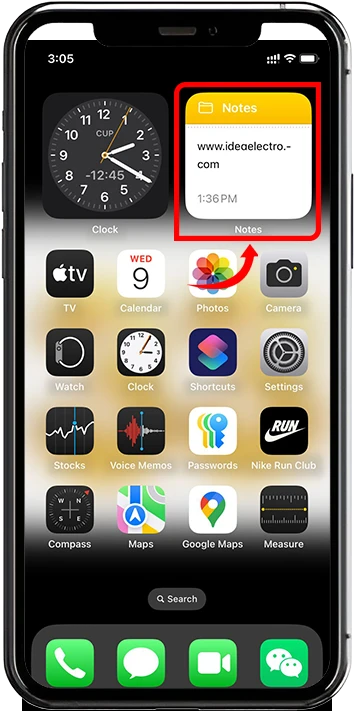
Create a new noteor open an existing one where you want to store the scan.
2 Start the Scan
Tap the Attached iconabove the Display
![]()
Select “Scan Documents.” Or “Scan Text” as you wish.
3 Scan the Document
Position your iPhone over the document.
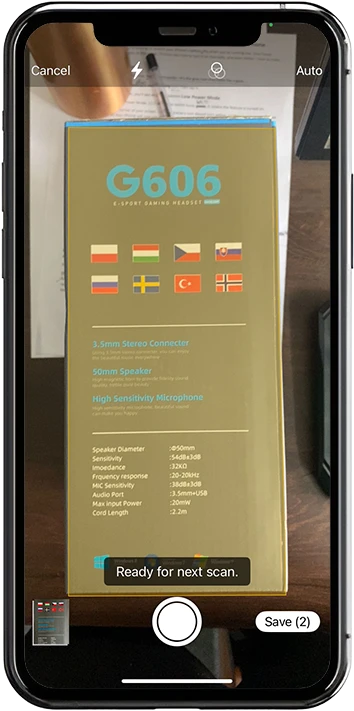
The app will auto-capturethe document if Auto mode is enabled (recommended).
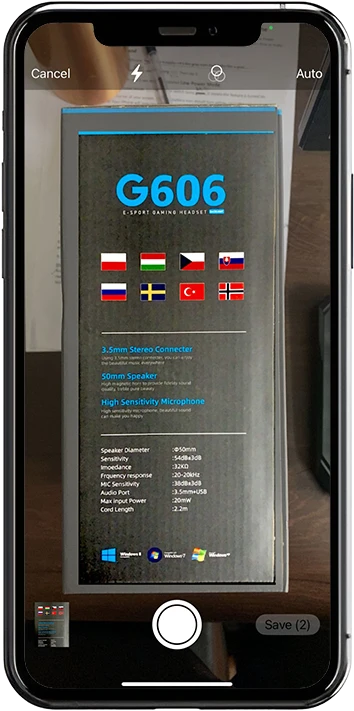
Alternatively, tap the shutter button
Tips for Best Results:
✔ Lighting: Use natural light or a well-lit room to avoid shadows.
✔ Background: Place the document on a dark, plain surface for better edge detection.
✔ Alignment: Hold the phone parallel to the document to prevent warping.
4 Adjust and Save
After scanning:
Cropthe edges by dragging the corner markers.
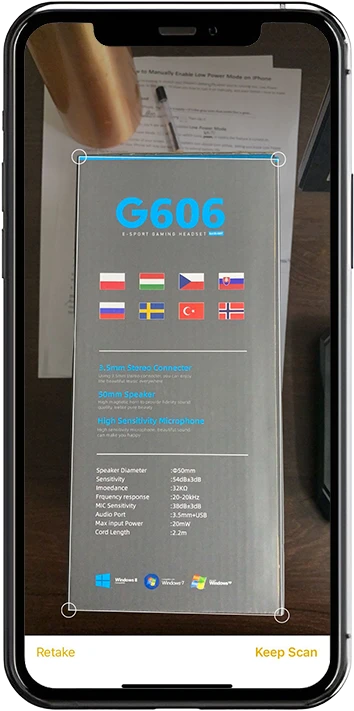
Rotateor adjust colors (choose between color, grayscale, or black & white).
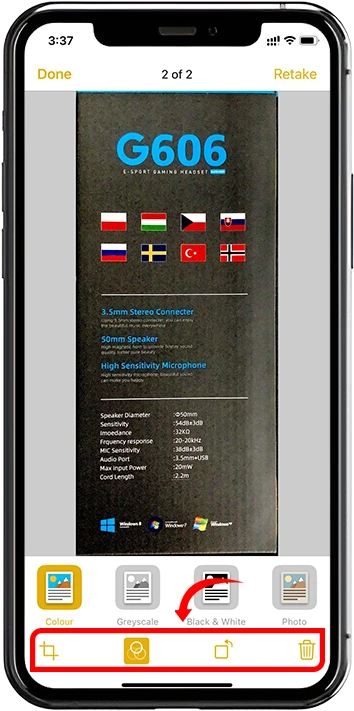
Tap Keep Scanto save it to the note.
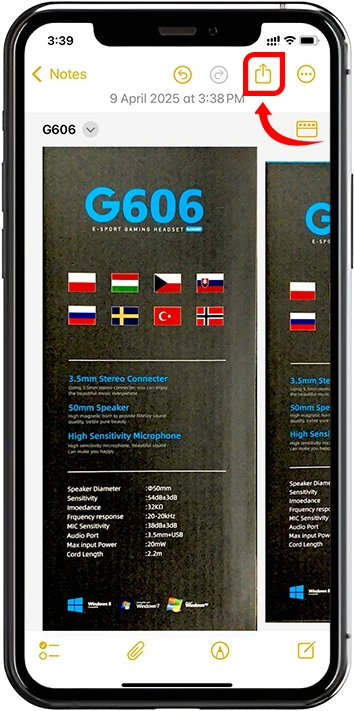
To export, tap the share iconand select Save to Files, Email, or Print as PDF.
![]()
Method 2: Using the Files App
If you prefer saving scans directly to your iPhone’s file system, the Files app is another excellent built-in option.
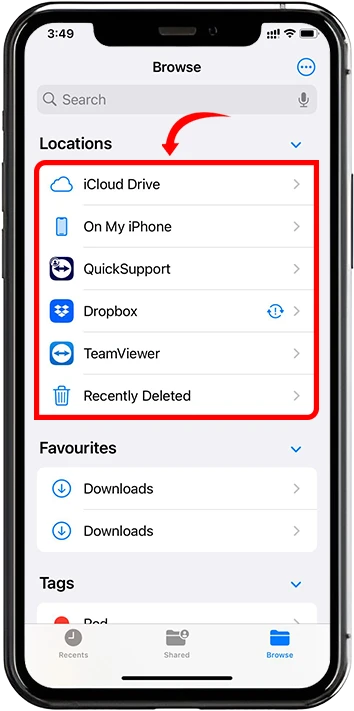
1. Open the Files App
Open the Files app(pre-installed on all iPhones).

Navigate to the folder where you want to save the scan (e.g., iCloud Drive, On My iPhone).
2. Tap the Three Dots → “Scan Documents”
Tap the three-dot menu(top-right corner). Select “Scan Documents.”
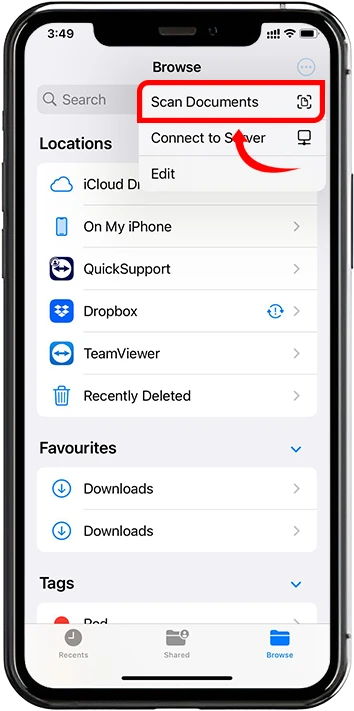
Follow the same scanning process as in the Notes app.
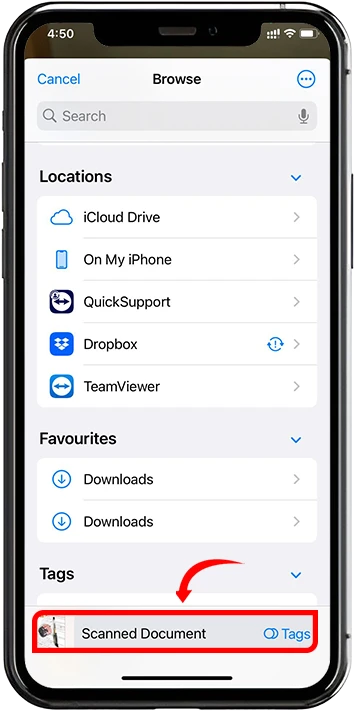
3. Save Directly as PDF
After scanning, tap Save.
Name the fileand choose a destination folder.
Tips for Best Results:
✔ Multiple Pages: The Files app allows batch scanning—simply scan additional pages before saving.
✔ File Naming: Use clear, descriptive names (e.g., “Lease_Agreement_2023”).
4. Optional: Using Third-Party Apps
While Apple’s built-in tools are sufficient for most needs, third-party apps offer extra functionality:
Popular Scanning Apps:
- Adobe Scan(Best for OCR, cloud sync, and high-quality PDFs)
- Microsoft Lens(Great for whiteboard scans and Office integration)
- Scanner Pro(Advanced editing, batch scanning, and folder organization)
Why Use Them?
✔ OCR (Optical Character Recognition): Convert scanned text into editable and searchable content.
✔ Cloud Sync: Automatically upload scans to Google Drive, Dropbox, or OneDrive.
✔ Advanced Editing: Enhance colors, remove shadows, and improve readability.
5. How to Share or Export Your Scans
Once scanned, you can easily share or store your documents:
Email & Messaging
- Tap the share iconand select Mail, Messages, or WhatsApp.
AirDrop
- Quickly send scans to nearby Apple devices wirelessly.
Cloud Storage
- Save to iCloud, Google Drive, Dropbox, or OneDrivefor easy access across devices.
Printing
- Export as a PDF and select Printfrom the share menu.
6. Troubleshooting Common Issues
Scan Too Dark or Blurry?
- Fix:Adjust lighting, clean your camera lens, and hold the phone steady.
Not Auto-Capturing?
- Fix:Ensure Auto mode is enabled in the scan interface.
Can’t Find the Scan Feature?
- Fix:Update your iPhone to the latest iOS version (requires iOS 11 or later).
Conclusion
Scanning documents with your iPhone is fast, free, and incredibly convenient, eliminating the need for a traditional scanner. Whether you use the Notes app, Files app, or a third-party tool, you can digitize receipts, contracts, and notes in seconds.
By incorporating iPhone scanning into your routine, you’ll stay organized, paperless, and ready to share documents anytime, anywhere. Give it a try today and streamline your workflow effortlessly!
Got questions? Drop them in the comments below, and we’ll help you master iPhone document scanning like a pro!